JOINTERS and PLANERS
Jointers and planers go together. Because special woods purchased at the Club Lumber Room come as rough-cut lumber if you want to make a finished project you need to square up your wood, make the top and bottom faces parallel and smooth and the edges square to the two faces. You start with the jointer, whose bed is actually a 12″ wide planer. You use the planer to make one face a flat and smooth surface. Once you have one face planed you stand the board on edge with the planed face against the fence and one edge over the planer cutters. This will create a board with a good face and one edge perpendicular to it. Make repeated thin cuts (less than 1/16”) rather than trying to take it all off at once. Planning with the grain makes a smoother cut. Do not plane the end grain or wood with loose knots. For wood that is bowed, Plan the concave side first. Now you can use a Parallel Drum Planer to create a board with parallel faces. Parallel drum planers have one rotating cutting drum that is aligned with a moving bed. Your stock is placed on the moving bed and passed under the rotating cutting drum to remove wood and leave the two faces parallel. Observe the designated limits as posted. Use the pushers. You can use a table saw and cut the last edge parallel to the first making your piece of wood “squared up”.
The Club has two Jointers.
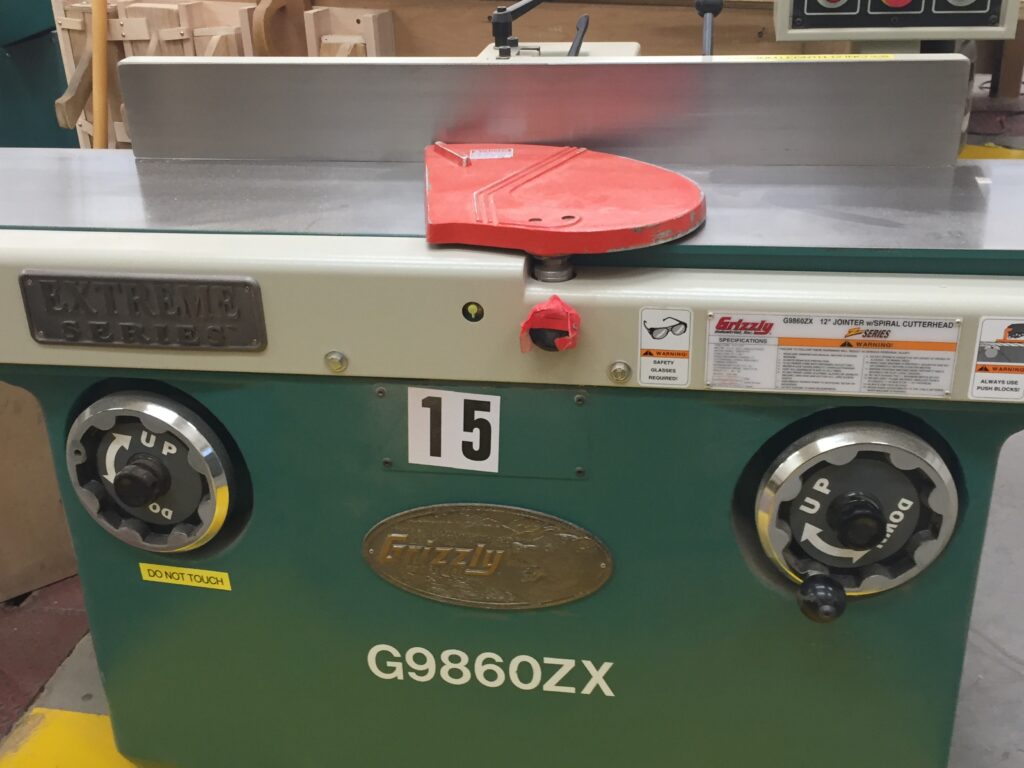

Jointers # 15 and # 17 are basically the same. Their beds are both approximately 3 feet long and 12″ inches wide.
More Details
The Club Has Two Parallel Drum Planers
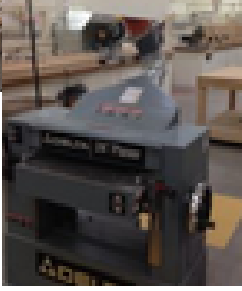
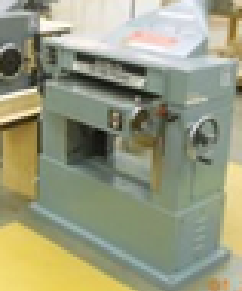
These two machines have a 24″ planer drum for cutting. This drum is above a conveyer that feeds a board through for the planning operation. The drum is perpendicular to the direction of travel of the conveyer and parallel to the bed. Your board should have one face planed flat to lay on the conveyer. the cutting drum will make the top face parallel to the bottom face. The crank on the right moves the conveyer with the board up into the cutters. This operation should be done in very small increments. Each machine will have specific instructions on the amount of movement. The machine is started in two steps. First the electricity is turned on, the conveyer will be turning, but the cutting drum will not turn. Now put your board on the conveyer and adjust the conveyer to the proper height to start cutting. Open vacuum vents before cutting. When everything is set, engage the cutting drum by using the leaver on the left side of the machine. Cut with the grain, not into it, to prevent chip out. If you cut against the grain, especially with hard or curly wood you increase the possibility of chip out. A good method to check progress of the planning is to hold a pencil sideways to make broad “S” shaped lines on the top of the board. When these lines disappear the two side will be parallel.